Choosing the Right Thickness Tester
Critical to Product Quality
Accurate thickness measurements are critical to product quality in many manufacturing applications such as paper, plastic film, nonwovens, and textiles. Testing can optimise the raw materials for production and ultimately reduce costs.
Factors to Consider
So, how do you choose the right type of thickness gauge when there are so many options on the market? To narrow the search, it’s important to consider:
- the material to be tested
- the application
- the precision required to meet any specific industry standards.
Choosing the Right Micrometer
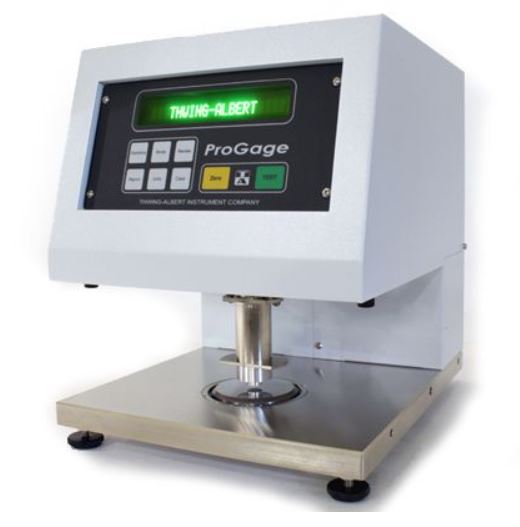
When working with compressible materials, a contacting method can be used to determine the thickness of a material. This can characterise the thickness of a material when subjected to a compressive force over a given area. However, based on the material tested, there are critical parameters that need to be controlled to ensure accurate measurements. Often times with “snap”-type and manual gauges, the amount of pressure exerted can be directly influenced by the operator. Automatic, motorized instruments eliminate this user bias.
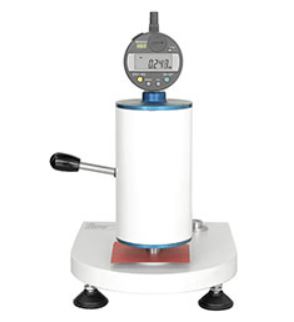
When considering a contacting type of micrometer, there are a variety of choices available including the simple “snap”-type gauges, bench top manual gauges and fully automatic electronic gauges. While all of these will provide a thickness measurement, some fall short of providing consistent results from operator to operator as the critical parameters cannot be controlled accurately.
Parameters to Consider
Consider the following parameters when making your decision to help control these factors while eliminating significant operator bias:
- Contact Speed: The rate in which the pressure foot contacts the material needs to be controlled. A higher contact rate can result in lower thickness values.
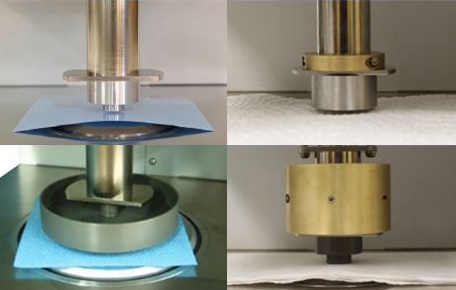
- Pressure Foot Diameter: For the most compressible materials, a larger diameter is recommended to disperse the load over an area for more uniform pressure.
- Accuracy: Compare the stated accuracy with the testing methods you will be meeting. Will the instrument meet the needed tolerances? This will be important to determine changes in thickness between specimens.
- Pressure: The amount of pressure applied, can significantly change the measured thickness of a material so it must be
constant and controlled. - Dwell Time: Controlling the dwell time is important as the longer a pressure foot remains in contact with materials, such as tissue paper, nonwovens and high loft materials, can result in lower thickness measurements
- Parallelism: The contacting pressure foot and anvil should be sufficient to eliminate any bias due to the edge of the pressure foot making contact with the specimen as opposed to the entire pressure foot. Complete contact of the specimen with the pressure foot needs to be maintained to ensure accurate measurements.
While “snap”-type and manual micrometers may appear to be a viable method for thickness measurements, they often fall short due to the lack of control over critical parameters resulting in poor product quality, inefficient raw material use and product rejects. Automated micrometers eliminate operator influences and ensure accurate, repeatable test results.
Contact Our Sales Team
01223 492081
sales@tendringphysicaltesting.com


